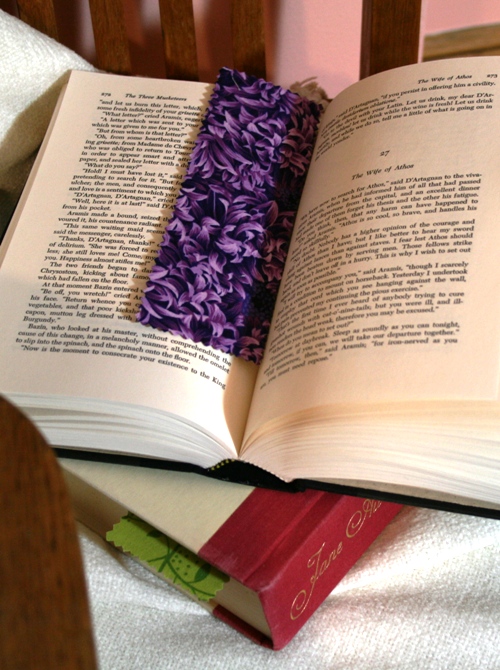
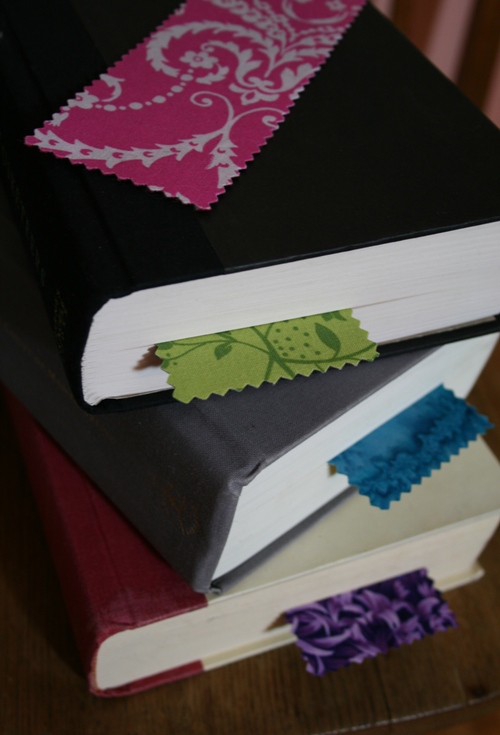
Fabric bookmarks!
I love fabric. I love figuring out how I can cover everything I own in fabric. I also love reading. It was only a matter of time until I tried to make fabric bookmarks.
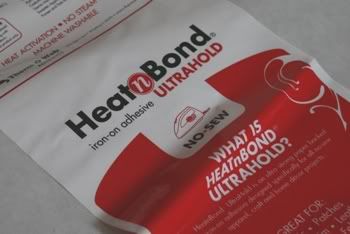
First, buy this stuff:
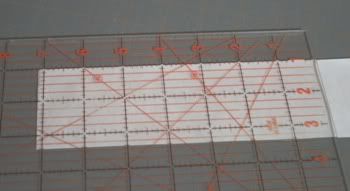
Cut one piece of Heat and Bond 2 3/8” by 7 1/8”.
Cut two pieces of fabric 2 1/2” by 7 1/4”.
Any fabric that won’t melt when ironed is safe to use. If you make your bookmark a different size, be sure to cut your H&B a little smaller than your fabric so you don’t bond it to your ironing board or gunk up your iron.
Place one piece of fabric right side down. Check to make sure the fabric has no stray lint or thread on the wrong side. Place the H&B on fabric, paper side up.
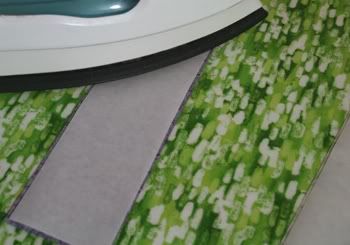
I believe the directions say to iron for two seconds but I always iron a couple of times to make sure it's extra bonded.
Let the piece cool on the ironing board and peel off the paper. Place the bookmark back on the board, fabric side down. The shiny H&B should be on top.
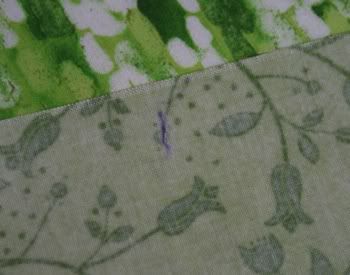
This shows what happens when you don’t check your fabric for lint/thread. I accidentally bonded that purple stuff between the fabric and the H&B which usually makes a bump on the outside of the bookmark.
Place the second piece of fabric right side up on top of the bookmark, line up the edges and iron.
Once cooled, cut the edges with a pinking shears or use your ruler and rotary cutter. The H&B does not go all the way to the edges so if you want to keep your edges from fraying, trim off approximately 1/8” from all sides of the bookmark. I usually iron a final time to work the H&B into the freshly cut edges and ta-da! You’re done!
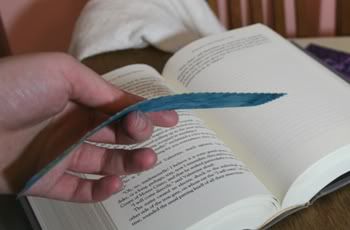
Your bookmark will be flexible but not super limp. If your fabric is very thin, it will be floppier.
This bookmark has an added bit of decoration:
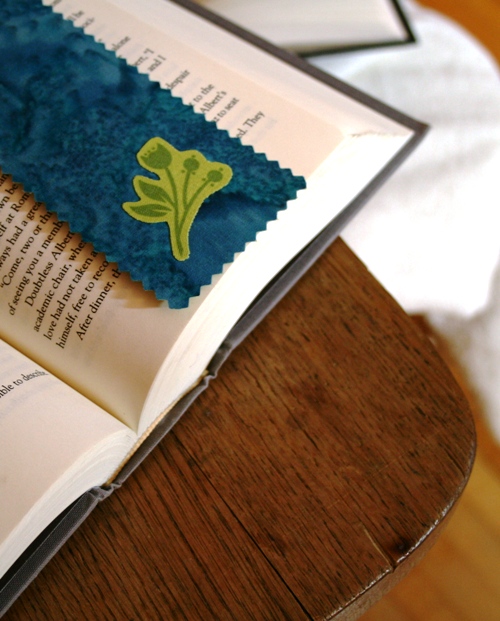
The process is the same as above…iron H&B to the wrong side of your appliqué fabric, let cool and cut out the shape you want to use, peel off paper, place your appliqué shiny side down and iron. The end!
First, buy this stuff:
Cut one piece of Heat and Bond 2 3/8” by 7 1/8”.
Cut two pieces of fabric 2 1/2” by 7 1/4”.
Any fabric that won’t melt when ironed is safe to use. If you make your bookmark a different size, be sure to cut your H&B a little smaller than your fabric so you don’t bond it to your ironing board or gunk up your iron.
Place one piece of fabric right side down. Check to make sure the fabric has no stray lint or thread on the wrong side. Place the H&B on fabric, paper side up.
I believe the directions say to iron for two seconds but I always iron a couple of times to make sure it's extra bonded.
Let the piece cool on the ironing board and peel off the paper. Place the bookmark back on the board, fabric side down. The shiny H&B should be on top.
This shows what happens when you don’t check your fabric for lint/thread. I accidentally bonded that purple stuff between the fabric and the H&B which usually makes a bump on the outside of the bookmark.
Place the second piece of fabric right side up on top of the bookmark, line up the edges and iron.
Once cooled, cut the edges with a pinking shears or use your ruler and rotary cutter. The H&B does not go all the way to the edges so if you want to keep your edges from fraying, trim off approximately 1/8” from all sides of the bookmark. I usually iron a final time to work the H&B into the freshly cut edges and ta-da! You’re done!
Your bookmark will be flexible but not super limp. If your fabric is very thin, it will be floppier.
This bookmark has an added bit of decoration:
The process is the same as above…iron H&B to the wrong side of your appliqué fabric, let cool and cut out the shape you want to use, peel off paper, place your appliqué shiny side down and iron. The end!
This is soooo cool!!!
ReplyDeleteThanks! I'm glad you like them!
ReplyDeleteI can never find bookmarks that I like. Now I can just make my own. Thank you for this tutorial!
ReplyDeleteThat's exactly how I feel! I love the freedom of making my own...well...everything! It's way more fun than settling for something that's not quite good enough.
ReplyDeleteWhat other small items can I make from the "heat and bond" bookmark process?
ReplyDeleteI just made a fabric "paper" chain...
ReplyDeletehttp://sonnetofthemoon.blogspot.com/2008/12/link-to-past.html
...using the same process. You could use the H&B to attach fabric to fabric or paper. What about cards or coasters? I haven't given it much thought but I'm sure there are lots of things I'll use H&B for in the future.
I am so going to make some of these this weekend! I'll share my pic when I am done. :)
ReplyDeleteI made about 12 of these so easy and so fun! unfortunate I forgot to take pictures. I made them to give to all the people that came to a pampered chef Party I had on Saturday. Everybody loved them! thanks for posting this. Now I have to go make myself one lol Its like the mechanic who's car is always broken.
ReplyDeleteooo...I can't wait to try this for my dad who is an avid reader but impossible to buy gifts for.
ReplyDeleteThis is so stupid make some that doesn't need extra stuff like bond or whatever
ReplyDelete