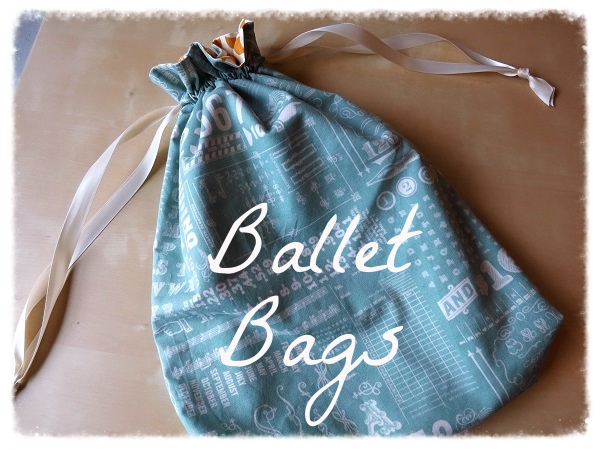
The Ballet Bag Tutorial
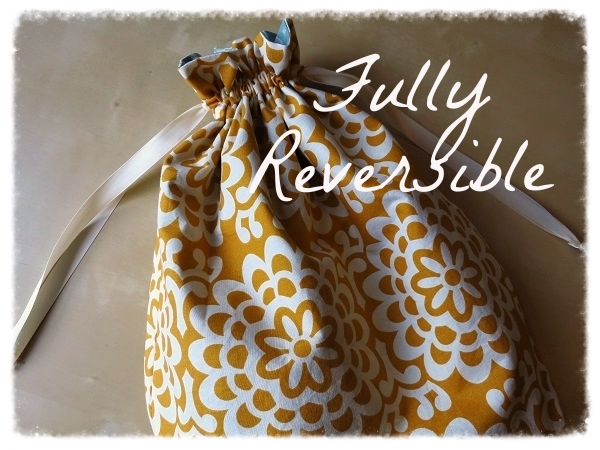
In this tutorial, I will show you how to sew a fully reversible drawstring bag. I originally designed this bag to carry my ballet outfit and shoes to class. I also use them to store knitting projects or as toiletries/overnight bags. These are also my favorite bags to use for wrapping gifts because they're such a useful size.
Materials:
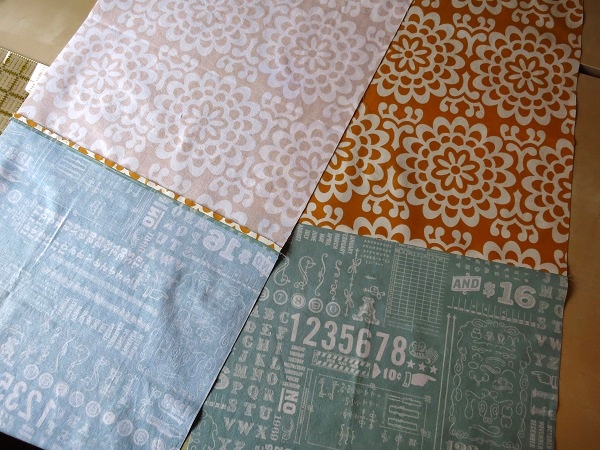
For fabric A: cut two 14.5" x 17.25" pieces (the 14.5" edge will be the top of the bag so keep it in mind for directional prints)
For fabric B: cut two 14.5" x 17.25" pieces (same here: top edge is 14.5")
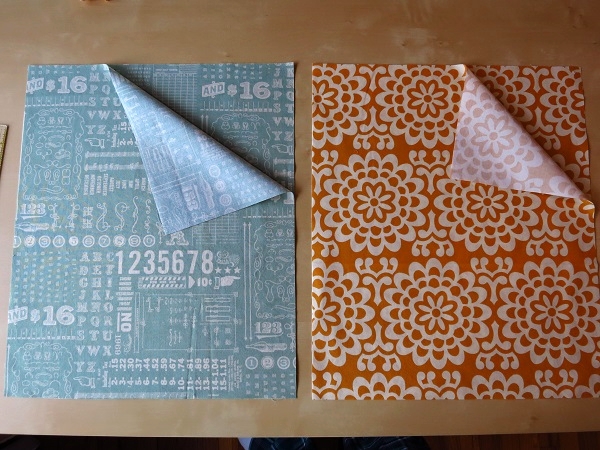
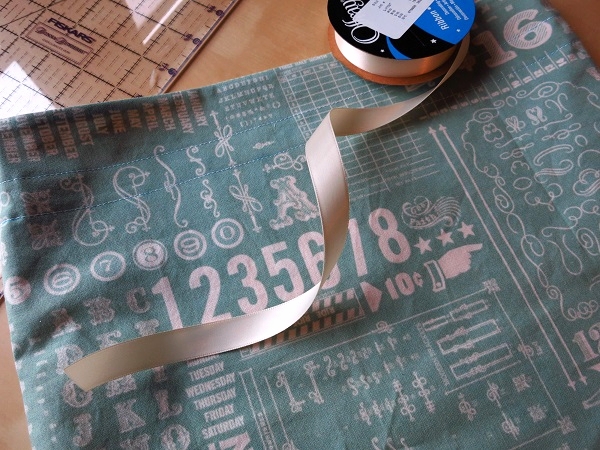
For Drawstring: 2 yards (72") of double faced satin ribbon (5/8" wide).
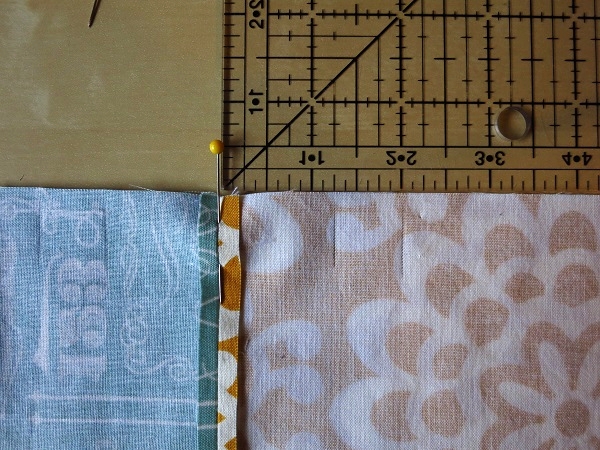
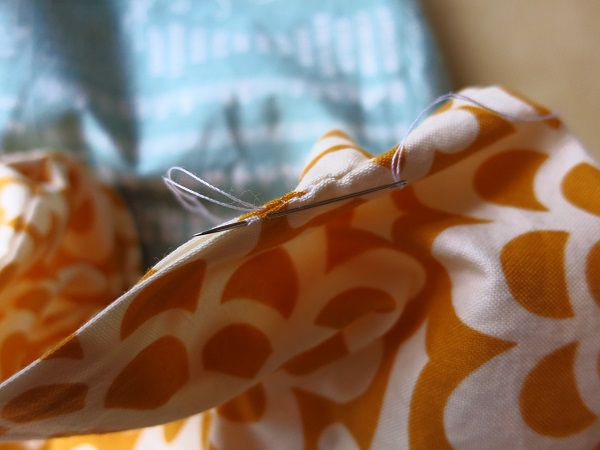
Let's get started! Place one fabric A and one fabric B right sides together. Pin along one short side. This will be the top of your bag so make sure the tops of both fabrics are pinned here.
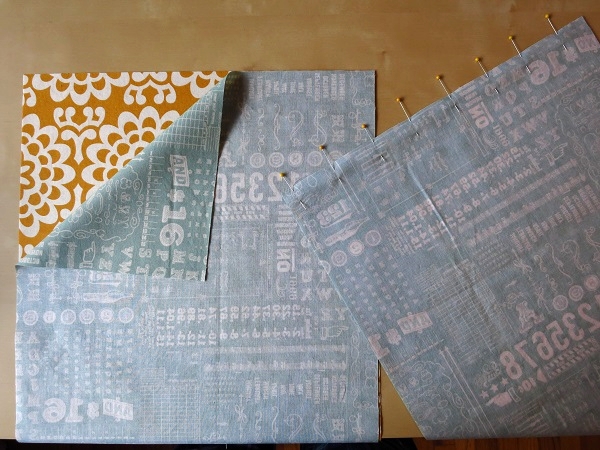
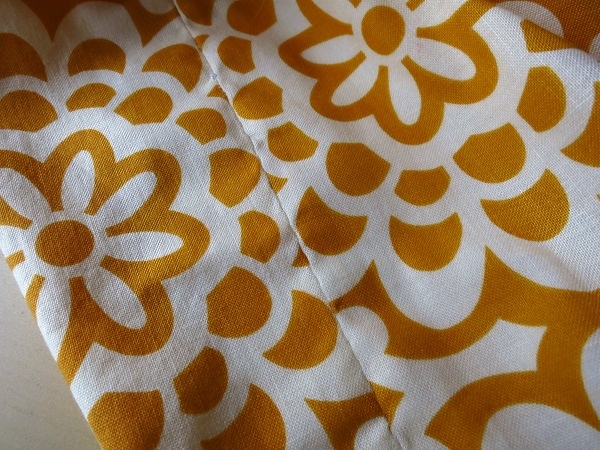
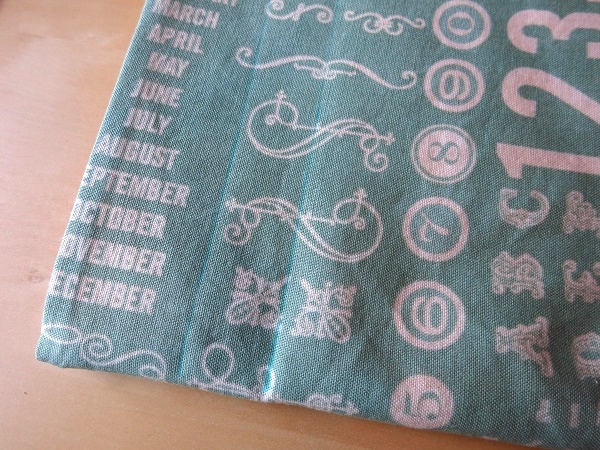
Sew along this end using a 1/4" seam. Press seam open (this will help your bag look more finished). Repeat with your other two pieces:
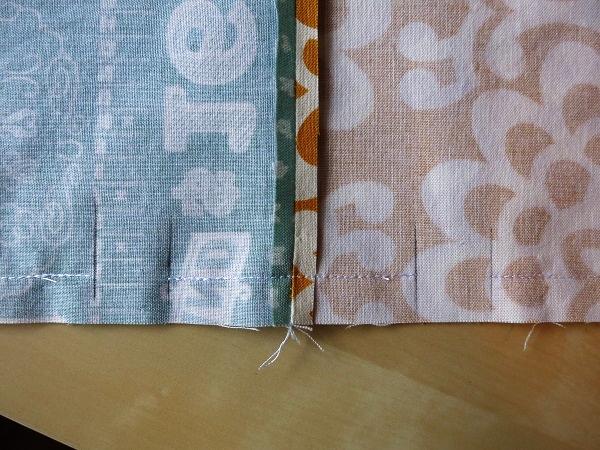
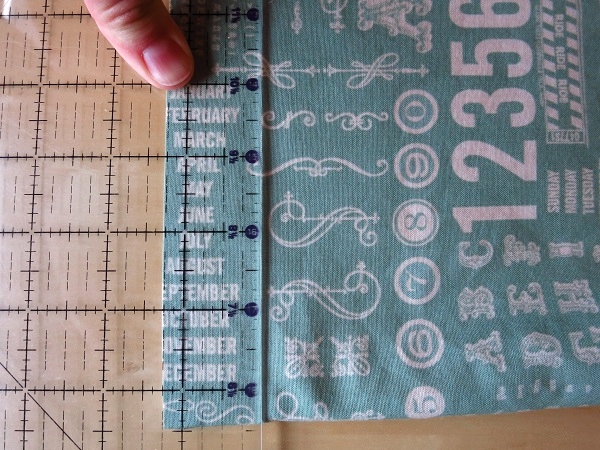
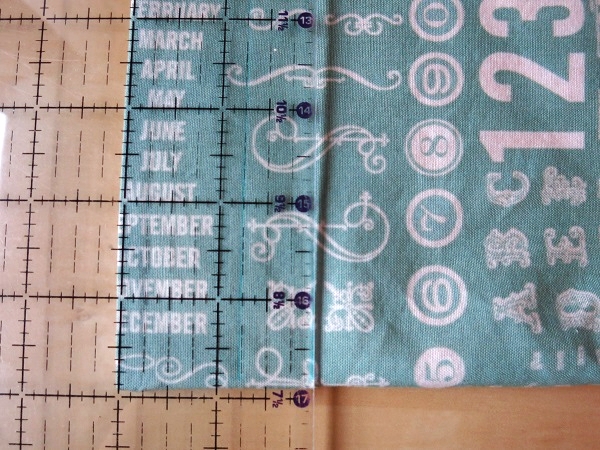
Place one of your pieces wrong side up. Mark lines for your drawstring 1.25" and 2" on both sides of the seam line. Repeat on the other side.
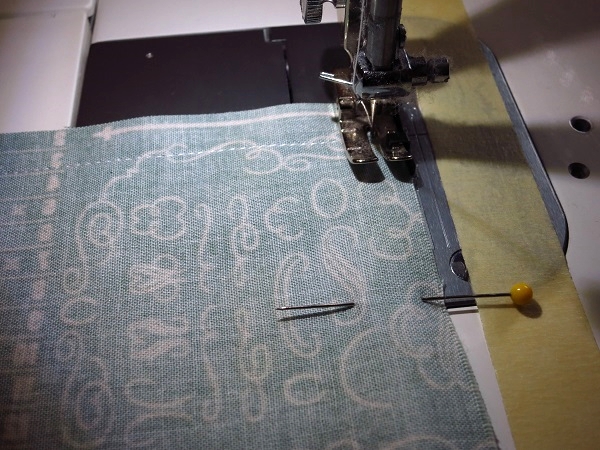
Pin your two pieces together, making sure that matching fabrics are layered together. You will sew both short sides with a 1/4" seam and both long sides with a 1/2" seam. I know 1/2" seam may sound annoying now but it will help you reverse the bag easily later. I put a piece of tape on my machine to mark 1/2".
Begin sewing at one of the shorter ends. We will want to leave a 3" opening on this side so begin sewing a 1/4" seam an inch or so from the center.
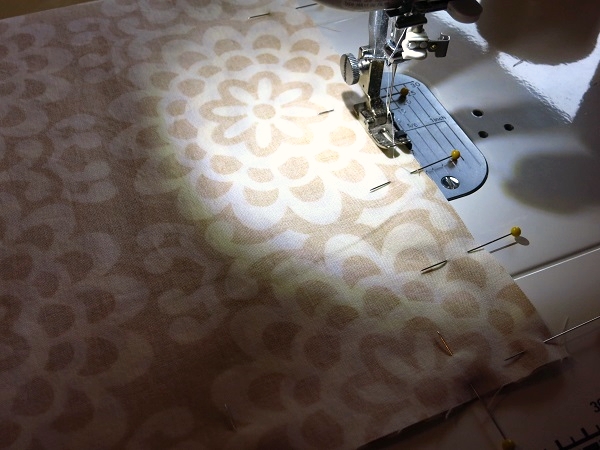
When you get to the end of this side, turn and sew the long side with a 1/2" seam.
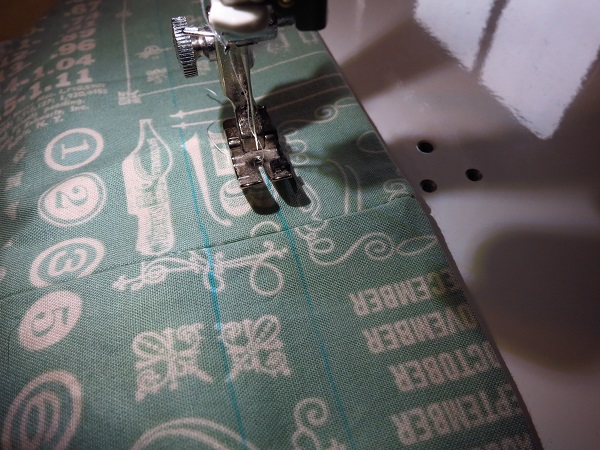
Backstitch when you get to the first pencil line. Lift your needle and move to your next pencil line. Sew the space between the lines (over the seam), backstitching at the beginning and end. Move to the last pencil line, backstitch and continue sewing the long seam until you reach the top of the bag.
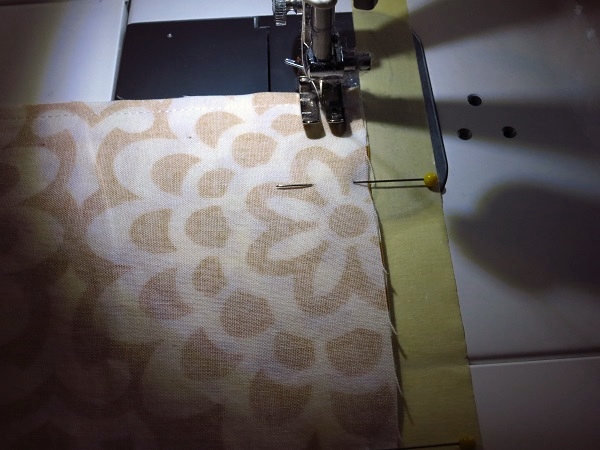
When you get to the top of the bag (short side), switch back to 1/4" seam.
At the end of the short side, turn and stitch the second long side using 1/2" seam. Make sure to stop and start at the pencil lines. Turn and finish up your final side with a 1/4" seam, remembering to leave a 3" gap.
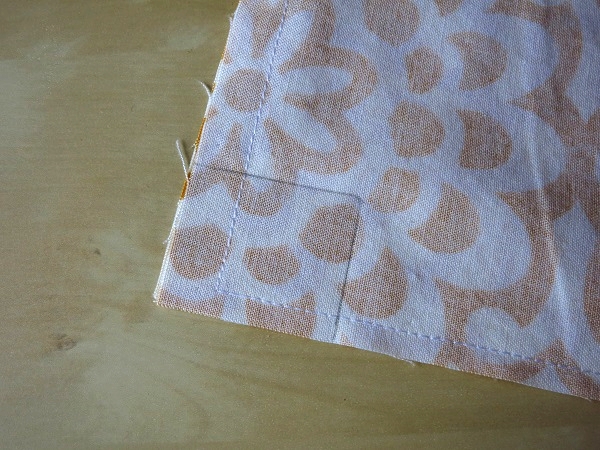
Now we will make the gussets. Place your ruler on the corner and measure 1" from the stitching line.
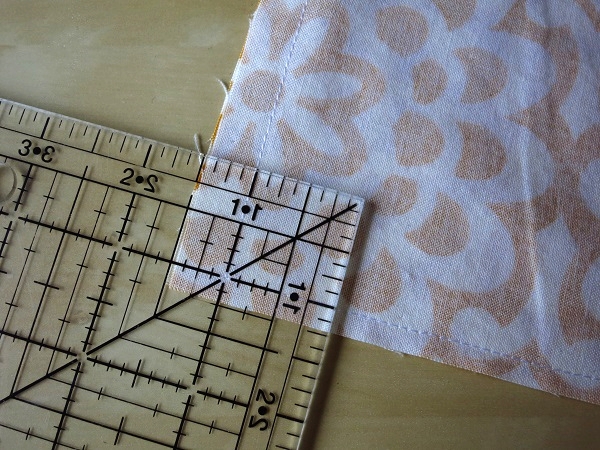
Trace with a pencil and you will have a rectangle (seems wrong but it isn't).
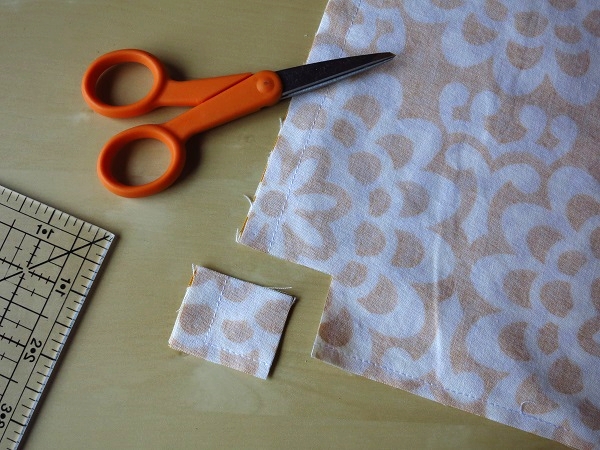
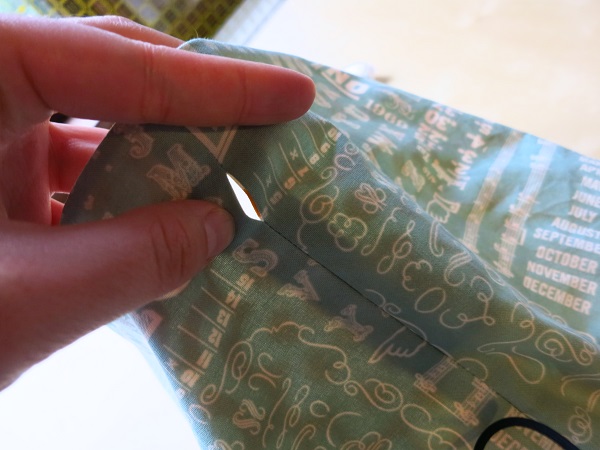
Cut out your rectangle. Repeat for the other three corners.
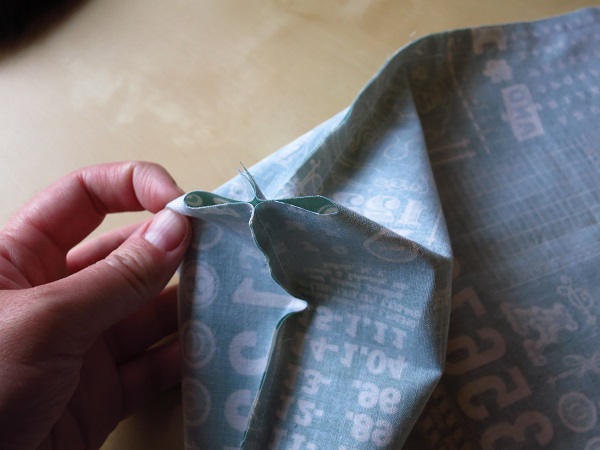
Pinch the front and back sides of the bag and pull the fabric outward.
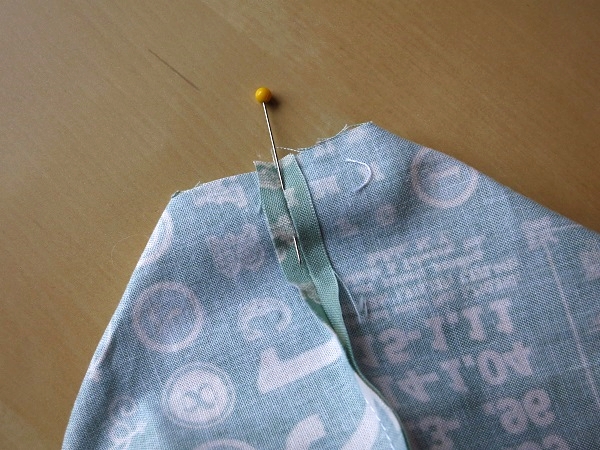
Pin through the center and sew 1/4" seam, backstitching at the beginning and the end.
Repeat these steps with your three remaining corners.
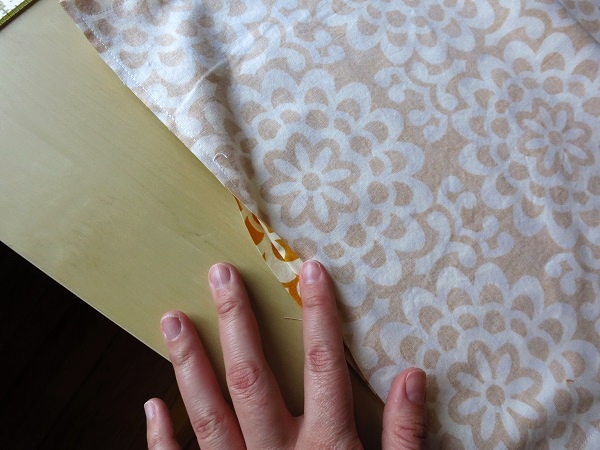
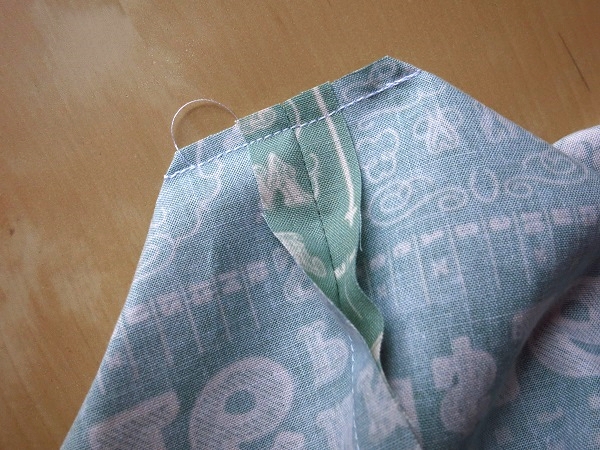
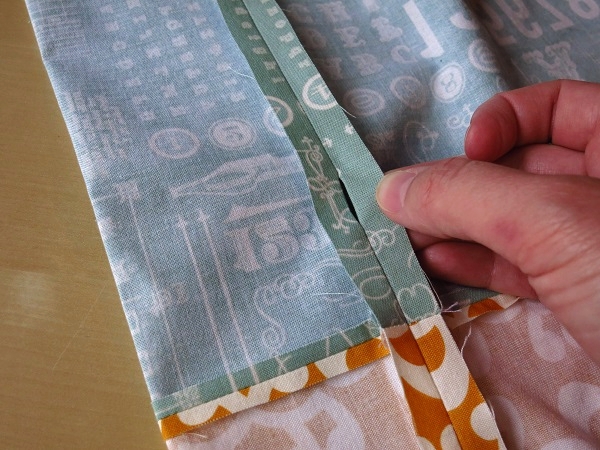
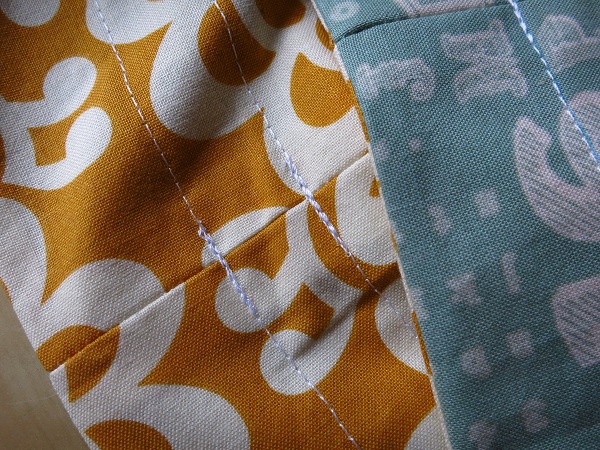
Once you're finished, press your side seams open. This will create the opening for your drawstring.
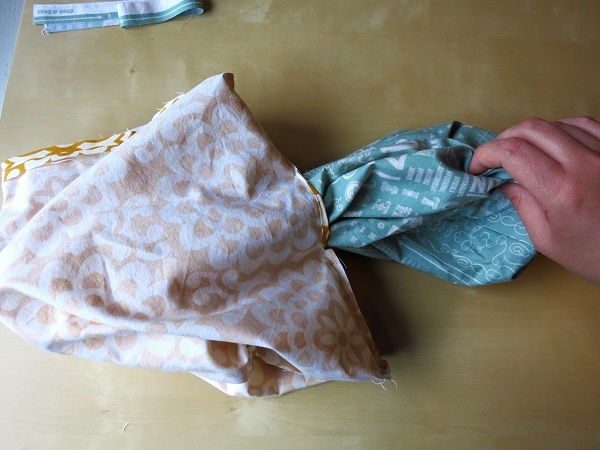
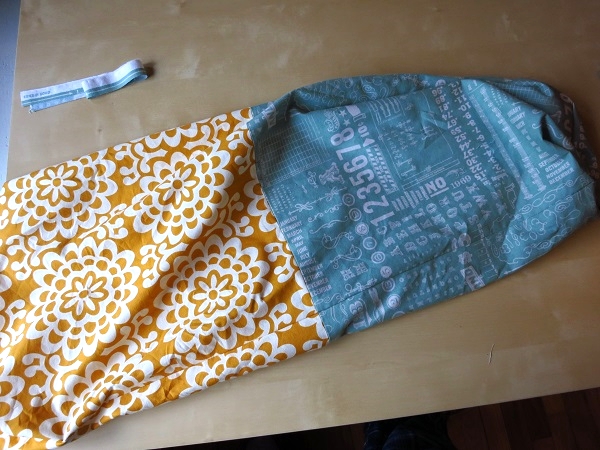
Check your bag for lint and/or stray threads and then pull your bag through the gap in the bottom.
Sew the gap closed by machine or hand sew using a ladder stitch for an invisible and more reversible seam.

Push one of the sides into the other, creating the bag. Make sure the side seams are still open inside the bag...you should be able to see through both holes.
To sew the drawstring channel, draw a line 1.25" and 2" from the top edge of the bag.
Start sewing along these lines at one of the side seams. Backstitch here and on the other seam. This is important if you will be reversing the bag since the thread at this point will be under some stress.

Now we make the drawstring. Cut your ribbon into two 36" pieces.
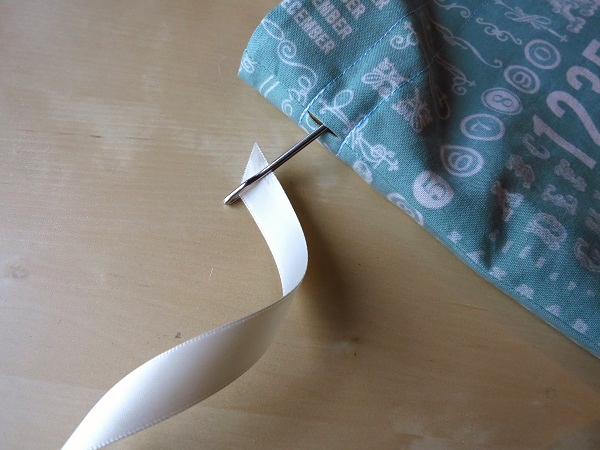
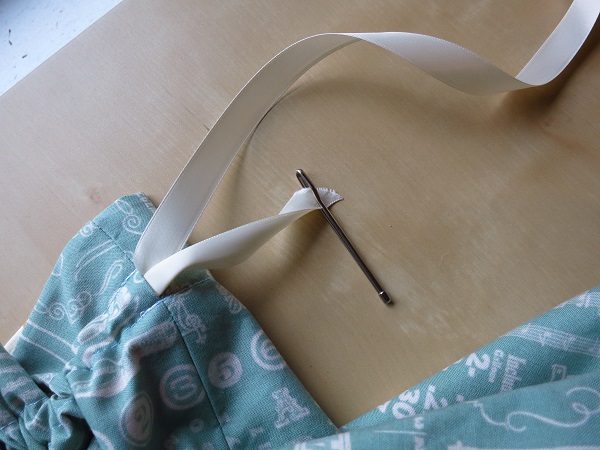
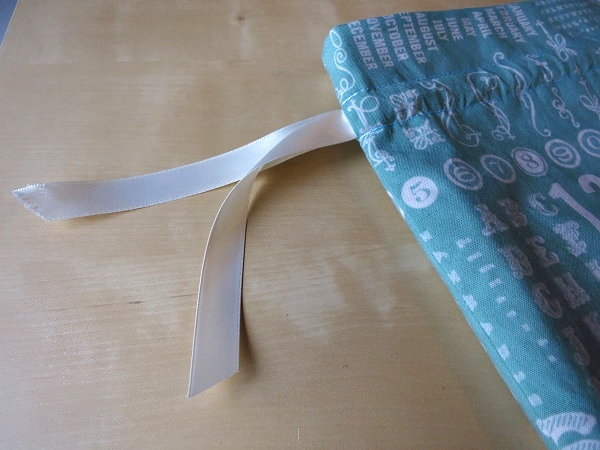
Using a bodkin or safety pin, thread one ribbon through the opening in the side and continue around until you reach the same opening. Repeat with the second ribbon starting at the opposite side opening.
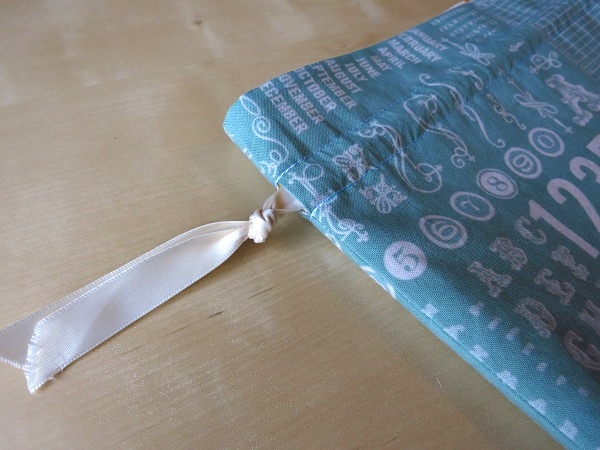
Pull the top of the bag straight and tie knots close to the edges.
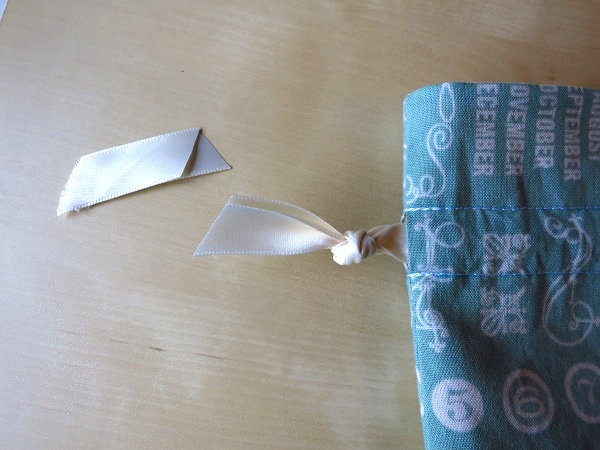
Trim the ends. I like to melt the edges with a match to keep them from fraying. Run the flame along the cut edge for just a second...don't let it melt too much or it will burn.
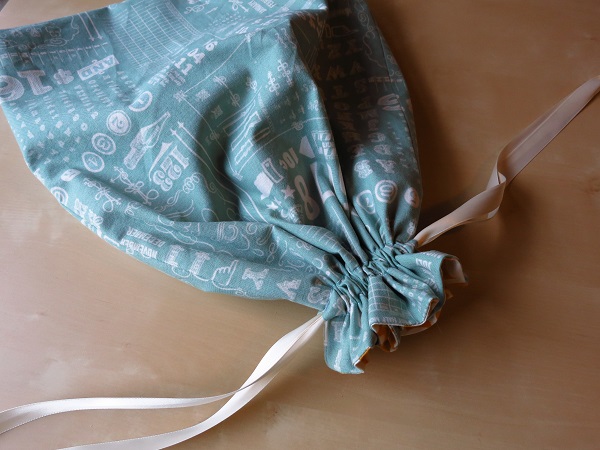
You now have a finished bag!
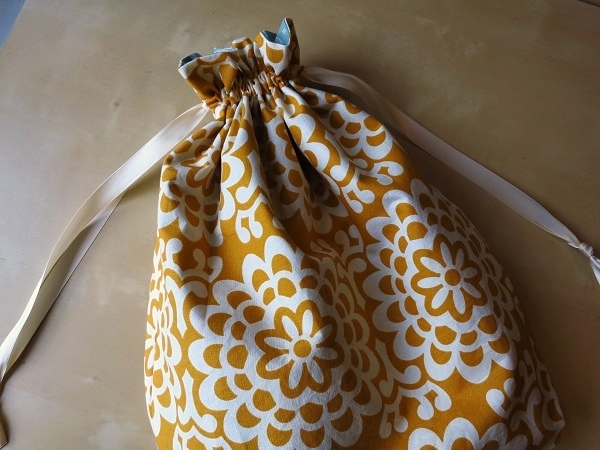
To reverse the bag, push the knots through the side openings and turn bag inside out.

As always, let me know if you have questions or if you need clarification on any of the steps. Thanks for taking a look at my tutorial and I hope you enjoy your new drawstring bag!
Terms of Use: I am a firm believer that once you make something, it is yours to do with as you please. This includes (on a small home scale) selling anything that you make using my tutorials and patterns. Please credit sonnetofthemoon.blogspot.com where appropriate.
Also, while the things you make are your hard work, these tutorials and patterns are my hard work. Feel free to link to them all you like but please do not copy, sell or otherwise present these tutorials as your own work.
As always, feel free to contact me if you have any questions. Enjoy!
Materials:
For fabric A: cut two 14.5" x 17.25" pieces (the 14.5" edge will be the top of the bag so keep it in mind for directional prints)
For fabric B: cut two 14.5" x 17.25" pieces (same here: top edge is 14.5")
For Drawstring: 2 yards (72") of double faced satin ribbon (5/8" wide).
Let's get started! Place one fabric A and one fabric B right sides together. Pin along one short side. This will be the top of your bag so make sure the tops of both fabrics are pinned here.
Sew along this end using a 1/4" seam. Press seam open (this will help your bag look more finished). Repeat with your other two pieces:
Place one of your pieces wrong side up. Mark lines for your drawstring 1.25" and 2" on both sides of the seam line. Repeat on the other side.
Pin your two pieces together, making sure that matching fabrics are layered together. You will sew both short sides with a 1/4" seam and both long sides with a 1/2" seam. I know 1/2" seam may sound annoying now but it will help you reverse the bag easily later. I put a piece of tape on my machine to mark 1/2".
Begin sewing at one of the shorter ends. We will want to leave a 3" opening on this side so begin sewing a 1/4" seam an inch or so from the center.
When you get to the end of this side, turn and sew the long side with a 1/2" seam.
Backstitch when you get to the first pencil line. Lift your needle and move to your next pencil line. Sew the space between the lines (over the seam), backstitching at the beginning and end. Move to the last pencil line, backstitch and continue sewing the long seam until you reach the top of the bag.
When you get to the top of the bag (short side), switch back to 1/4" seam.
At the end of the short side, turn and stitch the second long side using 1/2" seam. Make sure to stop and start at the pencil lines. Turn and finish up your final side with a 1/4" seam, remembering to leave a 3" gap.
Now we will make the gussets. Place your ruler on the corner and measure 1" from the stitching line.
Trace with a pencil and you will have a rectangle (seems wrong but it isn't).
Cut out your rectangle. Repeat for the other three corners.
Pinch the front and back sides of the bag and pull the fabric outward.
Pin through the center and sew 1/4" seam, backstitching at the beginning and the end.
Repeat these steps with your three remaining corners.
Once you're finished, press your side seams open. This will create the opening for your drawstring.
Check your bag for lint and/or stray threads and then pull your bag through the gap in the bottom.
Sew the gap closed by machine or hand sew using a ladder stitch for an invisible and more reversible seam.
Push one of the sides into the other, creating the bag. Make sure the side seams are still open inside the bag...you should be able to see through both holes.
To sew the drawstring channel, draw a line 1.25" and 2" from the top edge of the bag.
Start sewing along these lines at one of the side seams. Backstitch here and on the other seam. This is important if you will be reversing the bag since the thread at this point will be under some stress.
Now we make the drawstring. Cut your ribbon into two 36" pieces.
Using a bodkin or safety pin, thread one ribbon through the opening in the side and continue around until you reach the same opening. Repeat with the second ribbon starting at the opposite side opening.
Pull the top of the bag straight and tie knots close to the edges.
Trim the ends. I like to melt the edges with a match to keep them from fraying. Run the flame along the cut edge for just a second...don't let it melt too much or it will burn.
You now have a finished bag!
To reverse the bag, push the knots through the side openings and turn bag inside out.
As always, let me know if you have questions or if you need clarification on any of the steps. Thanks for taking a look at my tutorial and I hope you enjoy your new drawstring bag!
Terms of Use: I am a firm believer that once you make something, it is yours to do with as you please. This includes (on a small home scale) selling anything that you make using my tutorials and patterns. Please credit sonnetofthemoon.blogspot.com where appropriate.
Also, while the things you make are your hard work, these tutorials and patterns are my hard work. Feel free to link to them all you like but please do not copy, sell or otherwise present these tutorials as your own work.
As always, feel free to contact me if you have any questions. Enjoy!